Centennial Year Church Events
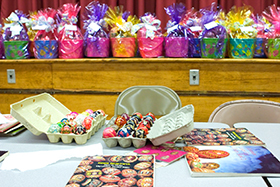
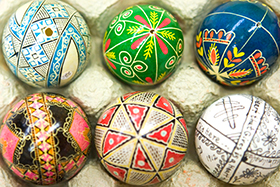
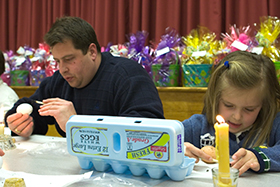
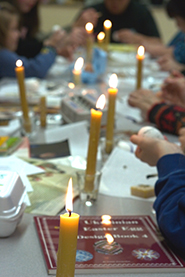
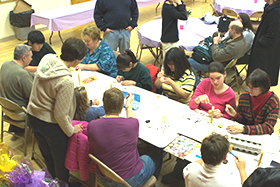
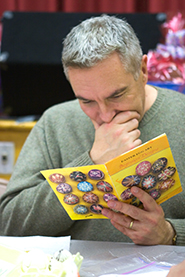
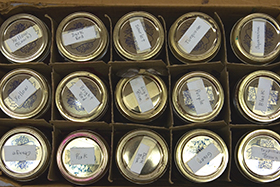
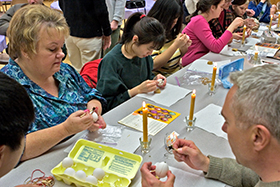
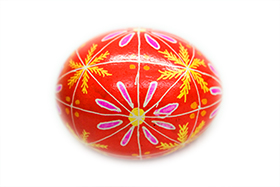
March 19, 2005 - On Saturday evening after Vespers, parishioners received instruction in the Church Hall in the art of making Ukrainian Easter eggs. The event took place against a backdrop of Easter baskets made earlier in the day for hospitalized children (above). Ms. Nancy Filak from Saint John the Baptist Church in Passaic, N.J. was the guest instructor. The word "pysanka" (one egg) derives from the Ukrainian verb "pysaty" (to write), so a pysanka is literally an egg that is written on. The plural of "pysanka" is "pysanky", many of which you will see below from this colorful event!
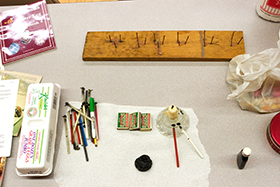
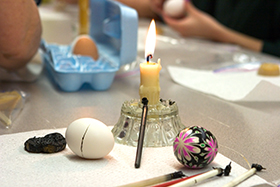
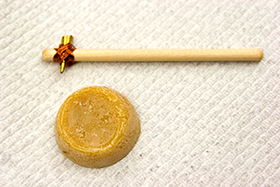
Above and below - the items necessary for the creation of pysanky are not very complex. An egg, unwritten and undyed, liquid dyes of varying colors, wax, a metal-tipped stylus for delivering the wax to the egg, and a heat source are necessary. A candle will do just fine. Instruction manuals with photos of completed eggs and line drawings of suggested patterns prove to be helpful. And yes, bring lots of manual dexterity and a sharp eye to the table!
 |
 |
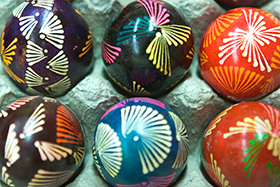
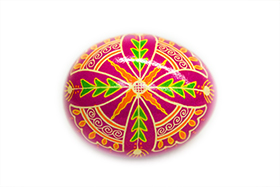
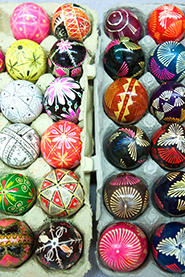
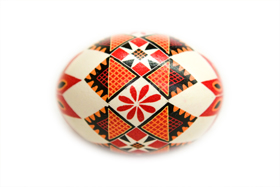
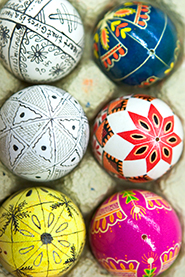
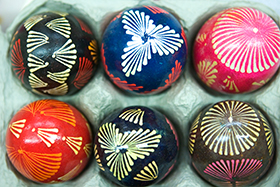
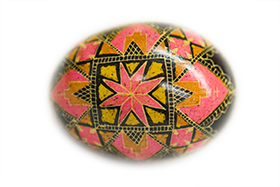
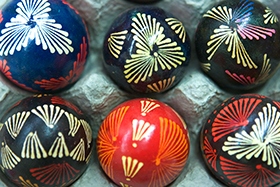
All of the eggs which you will see on this page, whether in groups of six (above right) or singly (below), were photographed on the evening of Ms. Filak's demonstration. They are representative of her creative talent and were completed by her at an earlier time. No photos from textbooks or clip art from the Internet here! These are the real thing, as Ms. Filak can attest.
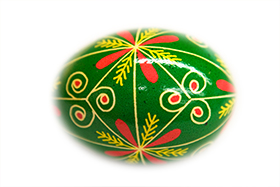 |
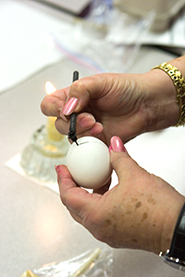
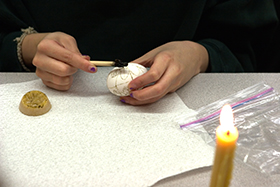
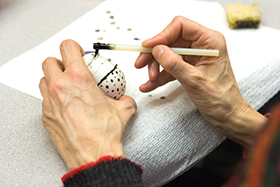
The process sounds simple. Heat the metal stylus in the flame, melt a bead of wax on the tip of the hot stylus, and draw the wax on the egg in a meaningful stroke. Do the preceding again. And again. And again. Having a calm, steady pair of hands is a great help! Having a creative plan in mind is also a great asset. Manual dexterity and mental creativity reign supreme!
 |
 |
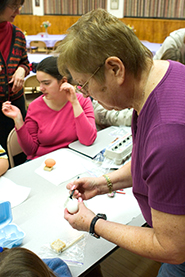
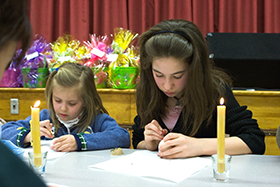
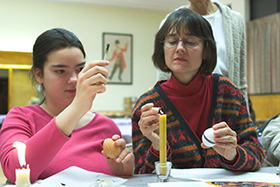
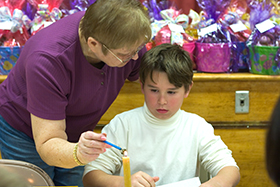
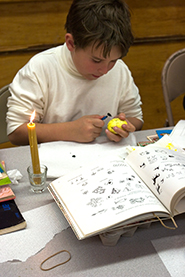
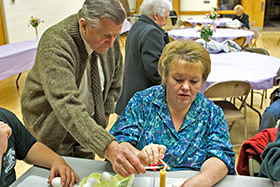
Above right, we see two friends deeply absorbed in their work. Below right, a latent creative talent was discovered this evening. Can you guess to whom these hands belong?
 |
 |
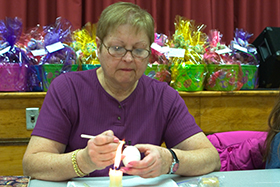
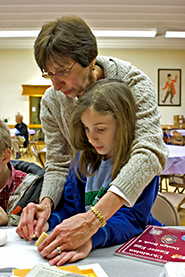
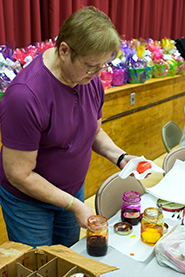
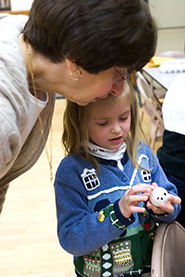
Above left - Mom and daughter; above right - Dad and daughter. This event was largely a night for families. Below left and right - Ms. Filak, master artisan and instructor.
The purpose of the wax patterns is as follows. Wax applied in the first round will prevent the initial application of dye from reaching the egg. If one were to stop there and then remove the wax, one would acquire a single-colored egg with white patterns where the wax once resided. One may choose to go beyond the initial sequence of applying wax followed by dyeing. As this process is repeated multiple times, interesting patterns and multicolor eggs develop. If one takes a minute to think things over, multicolor autobody detailing is accomplished in much the same manner, with repeated applications of masking tape and spray paint. A crude but effective analogy to the egg dyeing process!
 |
 |
 |
 |
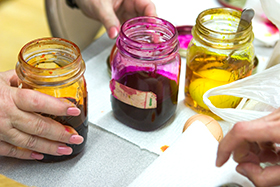 |
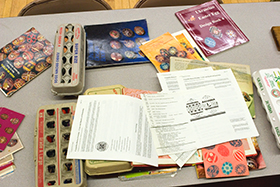
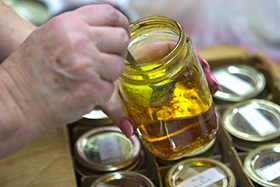
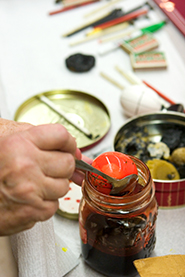
The liquid dyes (above right) are super-saturated with color. The dyes range in color across a spectrum from lighter hued colors to those which are dark hued. It takes suprisingly little time - less than a minute - for an egg immersed in the fluid to take on an attractive stain. If the eggs are to be dyed multiple times, then a few simple rules are to be followed. The eggs are to be dyed in the lighter hued dyes first, progressing to the darker dyes. Just as when painting a room interior, "fern green" covers a white wall readily but "white" does not readily cover a fern green wall, so too with Easter eggs. Again, a crude but workable analogy!
Above - so many patterns and so little time! Not to worry, however. Ms. Filak will be back at SS. Peter and Paul Orthodox Church to conduct a second session on April 2 for those who may have missed the first session or for those who would like to come again to practice this longstanding tradition of decorating Easter eggs.
return to photos menu
return to homepage
Copyright © 2005, Saints Peter and Paul Orthodox Church, South River, NJ